Part 2: The Slide Panel
Once the new buttons are in place on the Home screen for your new SeedCode Complete module, the next step is to make new slide panels in the sidebar. Read on while you watch this video tutorial of the process.
If you missed part one in this series, it describes to how add a new button to the home page in SeedCode Complete while keeping the nice hover behaviors in place. This post continues to describe how to create a new slide panel for our new module.
Go into Layout Mode and select the wider of the two buttons. Note that it is set up to run the “Select Inventory panel” script. Find and duplicate that script, and modify the copy for your new module, following the established naming pattern. In our example, we duplicated the “Inventory” buttons to make our “Supplies” buttons, so we’re going to change every instance of the word “Inventory” (or “Item”; the two terms are used interchangeably) to “Supply”, or “Supplies” when plural. Look for that key word to change in variable names, variable values, field names, relationship names, object names, script names and script parameters.
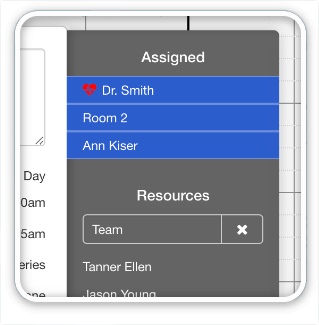
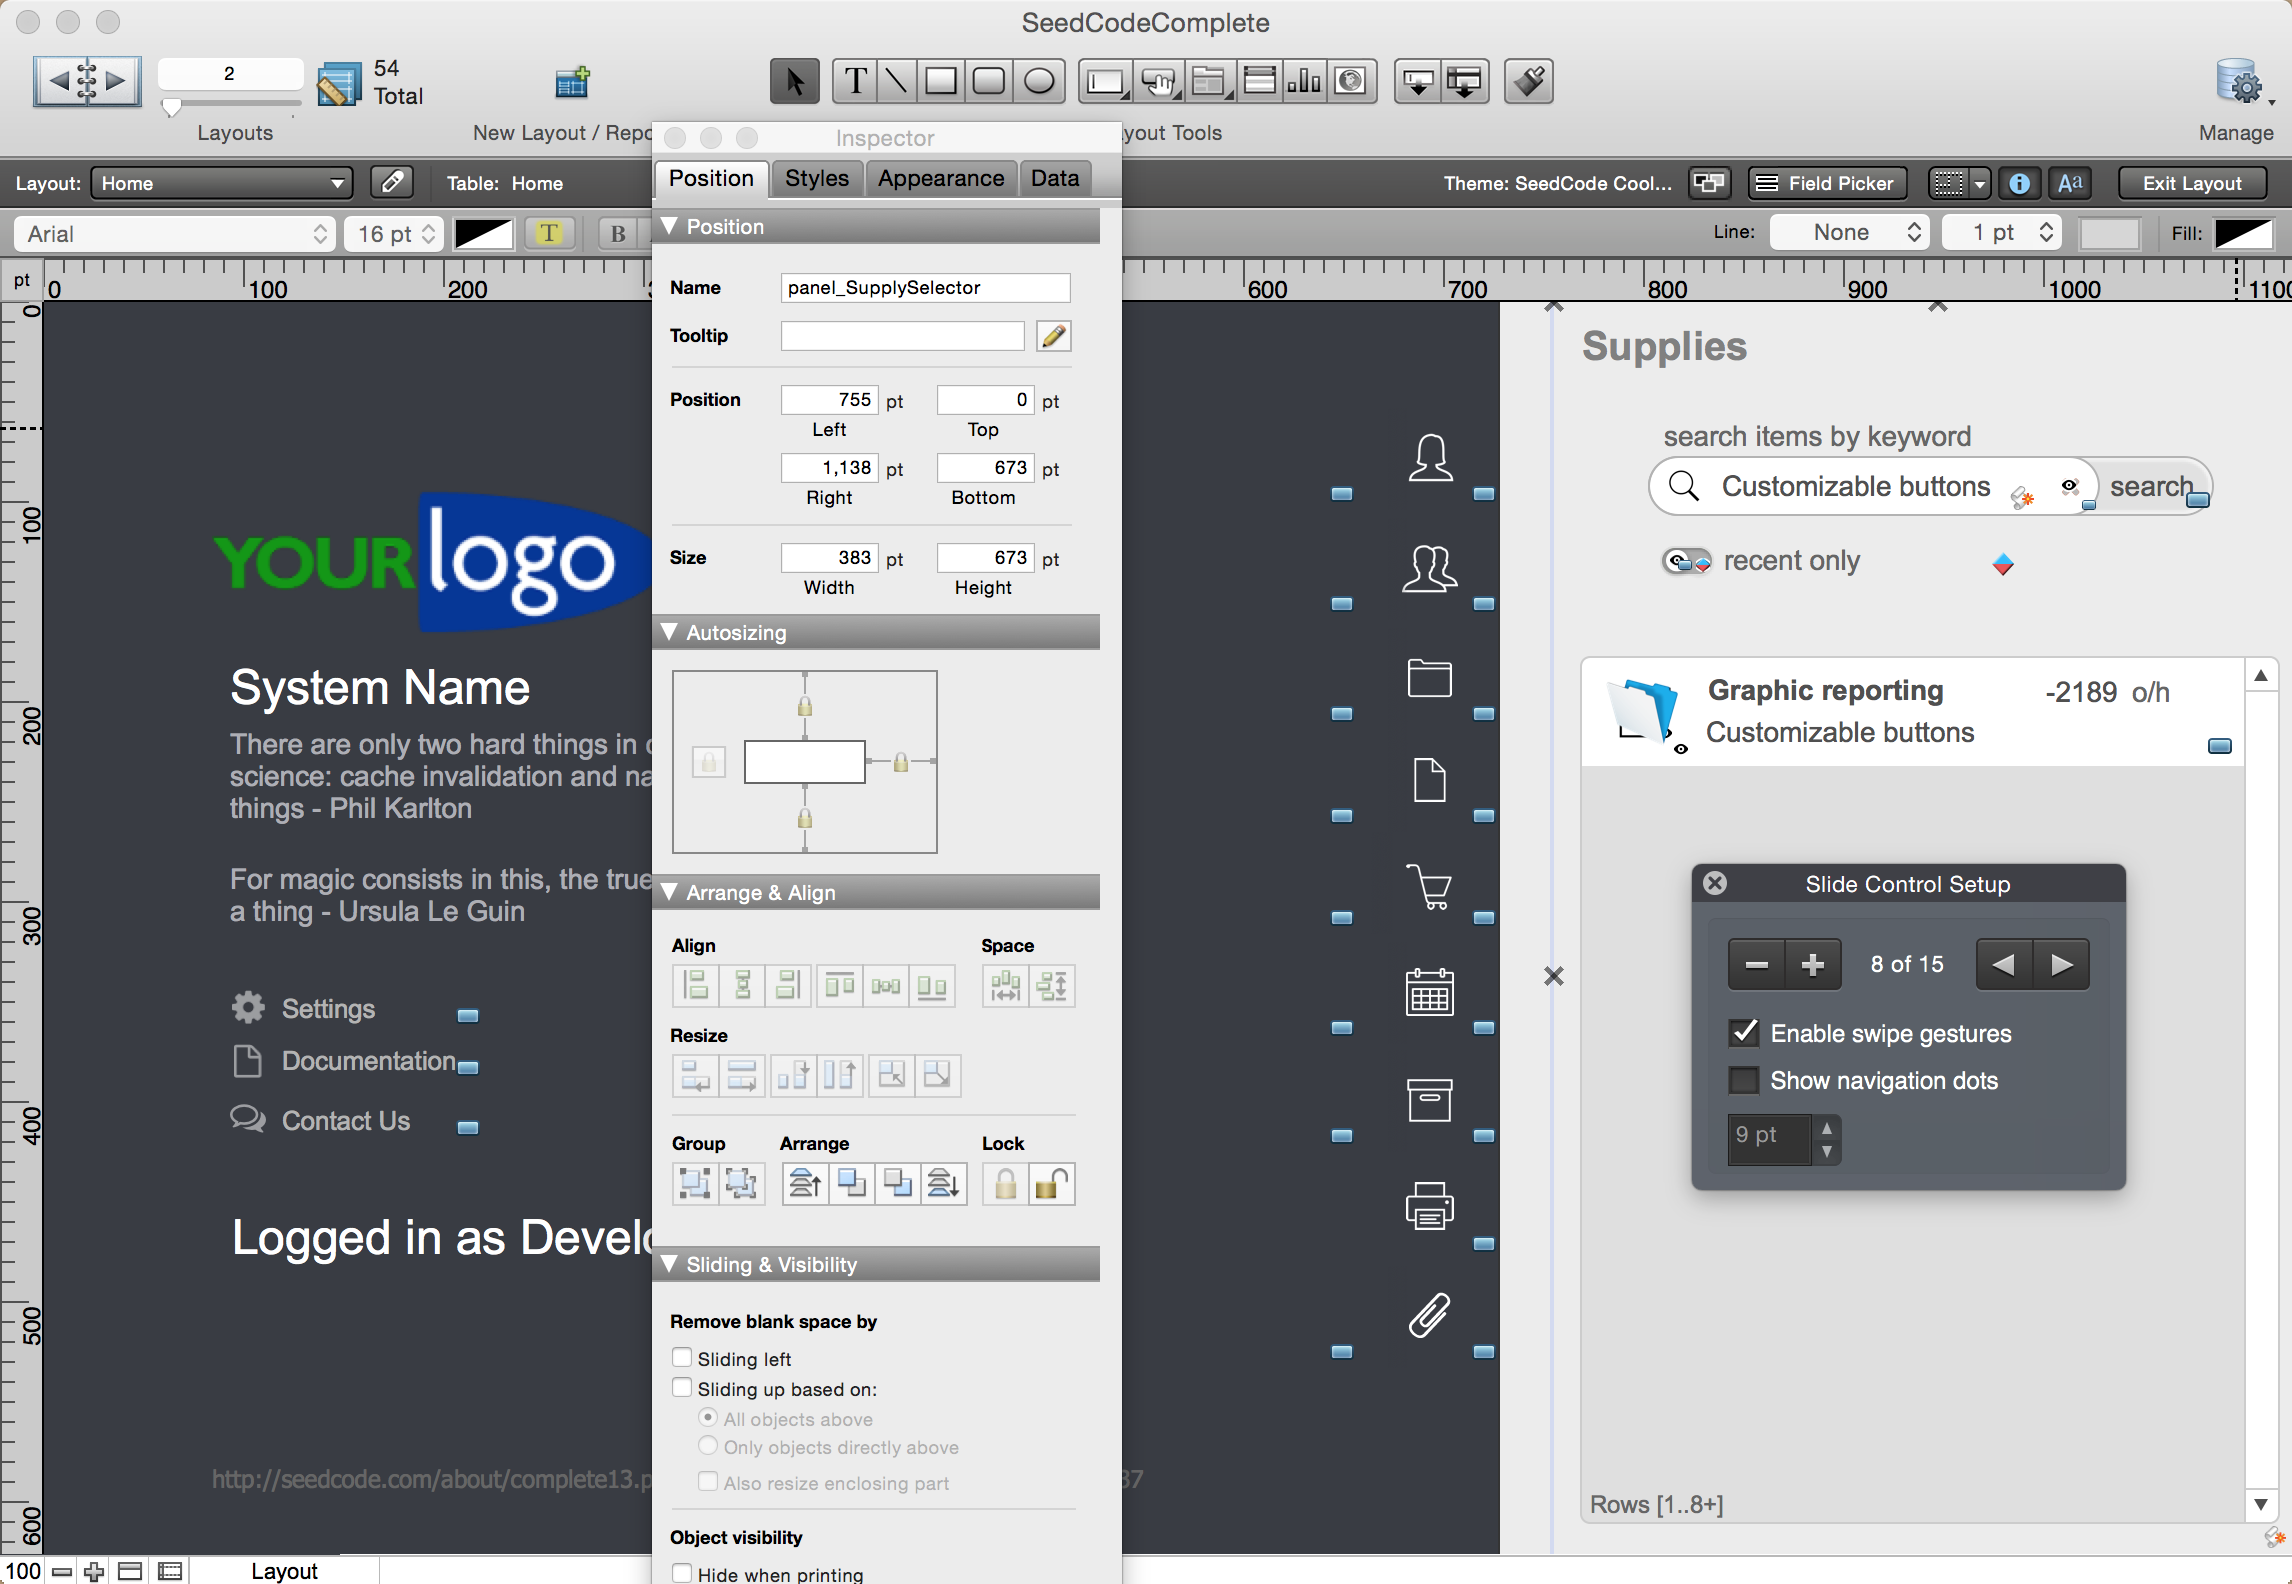
Go back into Layout Mode and double-click on the slide panel object in the right-hand sidebar. Notice there are “Selector” and “Detail” panels for each module. Find the panel whose name is “panel_ItemSelector” and copy all of the elements on that panel (fields, etc.). Then click the “+” button in the Slide Control Setup dialog to create a new panel for the new module. Paste the layout elements from your clipboard and nudge them into the exact same position as the originals. On the Inspector Palette, name the new panel object “panel_SupplySelector” (where “supply” represents your new module’s name). Then find the “panel_SupplyDetail” panel and do the same thing.
[ba-youtubeflex videoid=”tDha2g6Y8wI”]
You now have the same basic layout elements as all of the other modules on the SeedCode Complete Home screen, so that when you click on your new module’s button icon, you’ll slide to the corresponding new sidebar panel.
In the next part in this blog series, we’ll create the Supplies table and enter some sample data, then map the fields that appear on the side panel so we can start using the search tool to find records in the new table.