This is the second in a series of articles on using the Gmail API from FileMaker. The first article has some background on this approach as well as instructions for authenticating to the Gmail API and sending HTML emails. Please review that article here if you haven’t already. Additionally, there’s a great post by dbservices on integrating Gmail with FileMaker that lead to these articles and should be checked out as well.
As with the first article, all of these examples use the native Insert From URL script step so there won’t be any plug-ins required, and since the Insert From URL is supported in all aspects of the FileMaker platform, these techniques can be adapted to work on the Server, Go, FileMaker Cloud, and WebDirect. These techniques require FileMaker 16 or higher as they use the advanced cURL options introduced in that version.
In this article, we’re looking at sending large, multiple attachments via Gmail. Here’s a video overview along with a new free example file below.
FileMaker Gmail Integration: Example File
Please download the example file FM2Gmail v1.21 for a working demo. This new version adds the ability to send attachments and replaces v1.1 from the previous article. File updated July 19th, 2019.
Sending an Email with Attachments from FileMaker
Before we can send anything, we do need to authenticate our app with Google. Please refer to our previous article’s section on Getting Started / Authentication if you need to review these steps. Once we’re all authenticated, we can compose a new e-mail with attachments. You’ll notice in the new example file that the compose window has a new paper clip button for adding attachments. This button brings up a Card window which we can use to drag attachments in, add individual attachments and import entire folders of images or text files.

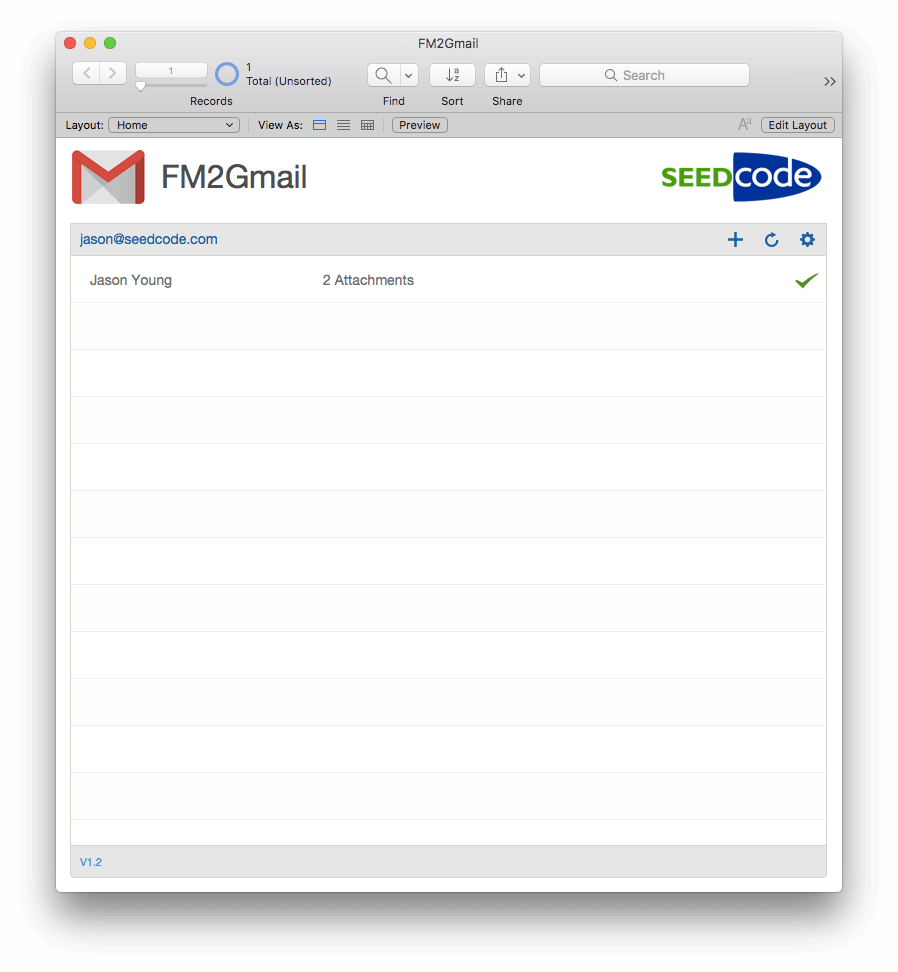
As you can see from the above screenshot, we’ve added 24 images totaling 33.8MB. The 33.8MB represents their size when encoded into base64: that’s a little bit bigger than the binary size, but this Gmail API technique allows for sending up to 35MB so this email should send with no issues.
Resumable Uploads
Even with a good connection, uploading 33.8MB can take a few moments, so what if you’re on an unstable or slow connection, e.g. you’re on FileMaker Go with only 3G? One of the great options the Gmail API provides is a resumable upload, where if you lose your connection you can pick up where you left off without starting having to start from scratch. In our example file, if you lose the connection, or terminate the upload, the email stays in the outbox with a warning beside it.
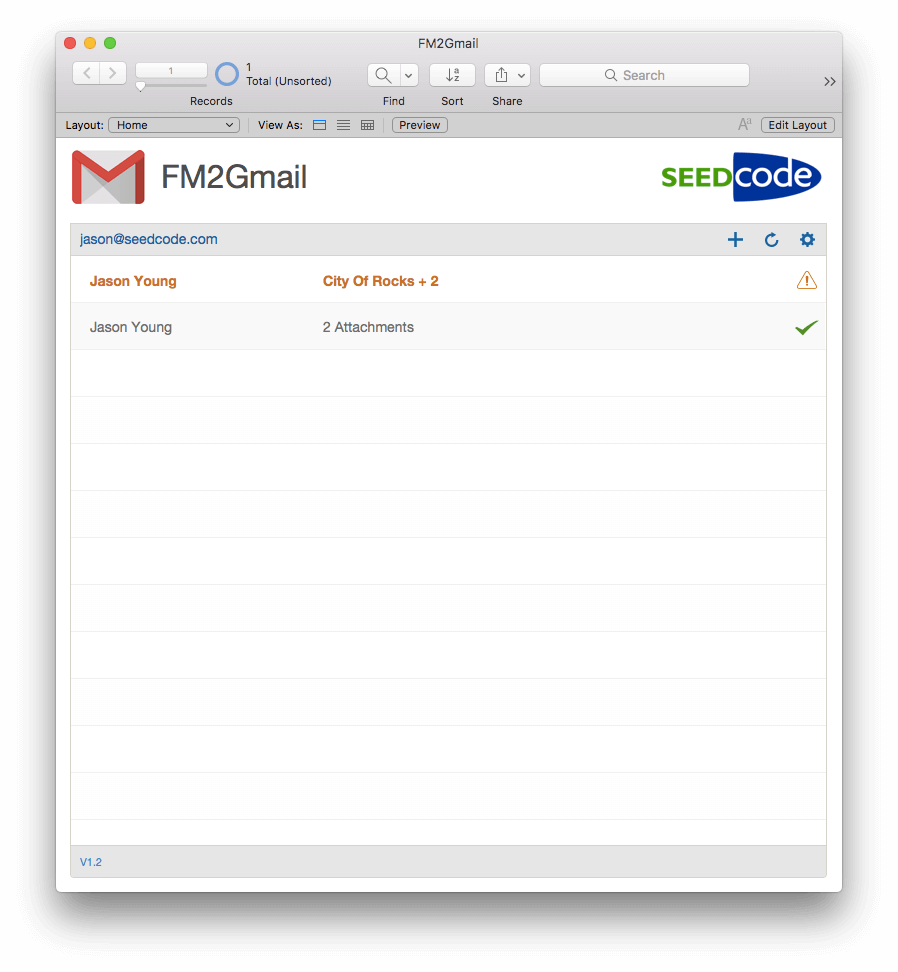
When we click on that email, we see that the upload is 43% complete and we have a Resume button available.

We can then Resume the upload and have it pick up right where it left off. We can lose our connection and resume the upload as many times as needed for up to a week until it’s completed. When the upload is complete, the e-mail is sent.

Under The Hood
The following steps all happen as part of the script Send Email – Resumable in our example file, so you can examine and step through that script to follow along with what we’re discussing below.
Initiating A Resumable Upload
To initiate a Resumable Upload we need to perform two requests. The first request is a POST that, if successful, returns a unique URL that we’ll use for the initial upload and any subsequent attempts that may be needed if the connection is lost.
For this POST, we’re going to use the following URL.
https://www.googleapis.com/upload/gmail/v1/users/me/messages/send?uploadType=resumable
We then want to specify the following cURL headers (double brackets indicate a variable value to be inserted).
-H "Authorization: Bearer [[$$accessToken]]"
-H "Content-Type: application/json charset=UTF-8"
-H "Content-Length: 0"
-H "X-Upload-Content-Type: message/rfc822"
As the Content-Type header above indicates, the POST is expecting a JSON body which would contain any metadata we wanted to include with the upload. We’ll be looking at metadata in a future article, but for now, there’s no body in the POST. If there is no body, we do need to specify the Content-Length header as zero or we’ll get an error. Also, if there’s no body in the request, POST needs to be explicitly called as a cURL option or it’s assumed it’s a GET, so we want to add the following cURL option.
-X "POST"
We also need to specify a variable for the response headers as the response itself will have no actual content and the URL we’re after will be in the headers.
-D "$responseHeders"
If our POST is successful, then we get a response header called Location which will contain a URL that looks like the below.
https://www.googleapis.com/upload/gmail/v1/users/me/messages/send?uploadType=resumable&upload_id=AEnB2UouIb8x2aIQfAwKvASAKc2Jj3wC-s2kGCK4HCItzwpEEZjcE6SaAJkXKfLz0rgs2HiLnyP3L3Ur_90sVgaSTYwMbsLTMx3JsCscBUTgGsgsSmUo_2U
Inserting The Attachments
Now that we have this unique URL, we’ll save it to the email record and then build the email body with its attachments. The first part of this process is identical to the example in our previous article and all happens in the subscript Create RFC2822 Form which produces text like this.
MIME-Version: 1.0
From: jason@seedcode.com
To: Jason Young<jason@seedcode.com>
Cc:
Subject: City Of Rocks + 2
In-Reply-To:
References:
Content-Type: multipart/mixed; boundary=35E346CE-C87C-4159-B4DB-2D42887CD96D

--35E346CE-C87C-4159-B4DB-2D42887CD96D
Content-Type: multipart/alternative; boundary=2D21BE3A-993D-4316-A7A9-EBC338960379

--2D21BE3A-993D-4316-A7A9-EBC338960379
Content-type: text/plain; charset=UTF-8

Check Out These Images!!

--2D21BE3A-993D-4316-A7A9-EBC338960379
Content-type: text/html; charset=UTF-8

Check Out These Images!!
--2D21BE3A-993D-4316-A7A9-EBC338960379--
--35E346CE-C87C-4159-B4DB-2D42887CD96D--
Once this part of the email form is built, the attachments are inserted between the final boundaries. Each of the attachments needs its own headers and is then inserted as base64, so the bottom of the form looks like this.
MIME-Version: 1.0
From: jason@seedcode.com
To: Jason Young<jason@seedcode.com>
Cc:
Subject: City Of Rocks + 2
In-Reply-To:
References:
Content-Type: multipart/mixed; boundary=35E346CE-C87C-4159-B4DB-2D42887CD96D

--35E346CE-C87C-4159-B4DB-2D42887CD96D
Content-Type: multipart/alternative; boundary=2D21BE3A-993D-4316-A7A9-EBC338960379

--2D21BE3A-993D-4316-A7A9-EBC338960379
Content-type: text/plain; charset=UTF-8

Check Out These Images!!

--2D21BE3A-993D-4316-A7A9-EBC338960379
Content-type: text/html; charset=UTF-8

Check Out These Images!!

--2D21BE3A-993D-4316-A7A9-EBC338960379--

--35E346CE-C87C-4159-B4DB-2D42887CD96D
Content-Type: image/jpeg; name="IMG_0222.JPG"
MIME-Version: 1.0
Content-Transfer-Encoding: base64
Content-Disposition: attachment; filename="IMG_0222.JPG"

[[b64]]

--35E346CE-C87C-4159-B4DB-2D42887CD96D--
Now we can begin our upload by doing a PUT request to our unique URL.
Uploading The Email
For this PUT we need to specify the following cURL headers
-H "Authorization: Bearer [[$$accessToken]]"
-H "Content-Type: message/rfc822"
We also need to specify that this is a PUT and specify our body and a variable for the response headers.
-X "PUT"
-d "[[$requestBody]]"
-D "$responseHeaders"
if the PUT is successful, then we get a simple JSON response like this, which we’ll save to our email record indicating that it was sent successfully.
{
  "id": "167180923a6f9ac3",
  "threadId": "167180923a6f9ac3",
  "labelIds": [
    "UNREAD",
    "SENT",
    "INBOX"
  ]
}
Resuming The Upload
To resume a failed upload, the first step is to do perform a PUT on our unique URL with no body in the request. This will tell us how much has already been uploaded and where we can resume. For this request, we want to specify the following cURL headers.
-H "Authorization: Bearer [[$$accessToken]]"
-H "Content-Length: 0"
-H "Content-Range: bytes */*"
The */* in the above header indicates we don’t know how much has been indicated, or how big out actual request is. We also need to indicate explicitly that this is a PUT and a variable for the response headers as there will be no content in the response and we’ll get the amount uploaded from these headers.
-X "PUT"
-D "$responseHeaders"
If the PUT is successful we’ll get the amount uploaded in the Content-Range response header. The bytes here actually represent the characters that we’ve already uploaded so we can remove that number of characters from the beginning of the body and then perform another PUT with this smaller body. We’ll also specify the position to start from in the Content-Range header, which is the uploaded amount plus one. We can repeat the process as many times as needed until the entire upload is complete. These subsequent PUTs require the following headers.
-H "Authorization: Bearer [[$$accessToken]]"
-H "Content-Range: bytes [[$start]]-*/*"
and as above we need to specify this is a PUT and pass the request body and a variable for our response header.
-X "PUT"
-d "[[$requestBody]]"
-D "$responseHeaders"
When the request is finally complete we get the simple JSON response indicating a successful download and can save the id and thread id to our email record as we did in the example from our first example, and that’s it!
{
 "id": "167180923a6f9ac3",
 "threadId": "167180923a6f9ac3",
 "labelIds": [
 "UNREAD",
 "SENT",
 "INBOX"
 ]
}
Conclusions
In addition to the HTML ability that we discussed in our first article, the Gmail API’s attachment management can extend FileMaker’s email capabilities well beyond what the Send Mail script step can offer. Two features stand out.
1. The Resumable Upload
FileMaker GO has powerful tools for capturing large amounts of data in a variety of file formats, so it’s essential that those mobile users have confidence that the data they’re sending won’t be lost and can be sent later when they have a better connection. The resumable upload can provide that when a reliable internet connection is not available. Potentially, users can be sending large emails from FileMaker GO with a FileMaker Server receiving them and processing the attachments accordingly.
2. Multiple Attachments
FileMaker 17 has introduced the ability to send multiple attachments with the native Send Mail script step. However, the Send Mail step requires that the attachments are exported to a system directory and then that path is referenced via a FileMaker variable. This means that existing container data can’t be sent via the server as the Export Field Contents script step is not supported there. Since the Gmail method uses base64 for the attachments, these can be inserted into the email body directly from the containers allowing us to send them from Server, Cloud, and WebDirect.
Here’s the next article in the series:
Integrating FileMaker and Gmail Part 3 – Working With Threads


29 Comments
First off – an amazing piece of work. I would like to incorporate this into our workflow database and keep customers updated with their project status as it moves through the shop. I am currently sending text emails using the sendmail script step but this takes it to another level?
Question-how do i add an inline attachment for a logo or other image that is not an attachment? The text edit provides for relatively decent text formatting but the insert image is grayed out.
Hi Jerry. Thanks for the kind words!
We’ve found attaching images and referencing those inline to be unreliable and difficult. Instead, we suggest hosting your image on a public-facing server somewhere and then embedding it into the HTML of the email using the tag. Most email clients support that, whereas referencing attached images is not.
The other option would be to use the built-in Base64Encode function to put the encoded image into the HTML of the email. That doesn’t require hosting your image separately, but does increase the size of the email, as if it were an attachment.
All of these options (including referencing an attachment in line) are detailed here: https://mailtrap.io/blog/embedding-images-in-html-email-have-the-rules-changed/
I hope that helps!
KC
Hi,
Excellent work! How can I download the demo file? I tried to click this FM2Gmail v1.21 but it went to other page.
Thank you.
Hi Lyn, Sorry about that! We moved a few things with our site redesign, and that link got missed. Fixed now and here’s the link to the latest version of that example file: https://seedcode.com/wp-content/uploads/2018/12/FM2Gmail_Part3.zip
Hi Jason,
Trying to use this with Outlook. In the Request Resumable Upload URL script, I’m not sure whether I should be using POST https://graph.microsoft.com/v1.0/me/sendMail or POST https://graph.microsoft.com/v1.0/me/messages/id/attachments/createUploadSession. I read that I could use the former if the attachment was small.
I also don’t know how to include the message in my Insert from URL call. I get a “the value of the parameter “message” is empty” error. I would appreciate any advice you can give me. Thanks
Hi Mark,
I don’t have much experience with the Graph API and emails, but the second URL would be the equivalent of the Resumable Upload where you do an initial POST that returns a URL, and then you do a PUT to that URL. I think the difference here is that this session just handles the Attachment and then you have to attach the file to an existing Message and then send it, but I’m not sure about that as I haven’t run through the process.
If you haven’t already, I would check out the sample file Wim from Soliant put together. I’m pretty sure he has an example of sending an email with an attachment and taking a look at what he’s done there should get be helpful.
https://www.soliantconsulting.com/?s=Microsoft+Graph+API+for+Office+365+Integrations+in+FileMaker
I hope that helps and my best,
Jason
Hi Jason – I’ve been using your info to successfully send Gmail and now have the need to convert it to Outlook. It seems that your script would work with a few changes in the $url and $cURL values but that is beyond my knowledge. Is this something simple that you could provide?
https://www.googleapis.com/upload/gmail/v1/users/me/messages/send?uploadType=resumable
becomes
https://graph.microsoft.com/v1.0/me/messages/AAMkADI5MAAIT3drCAAA=/attachments/createUploadSession
If so, whatelse has to change? Thanks!!
Hi Jason,
This is a wonderful technique. Is there a trick to getting it to run as a scheduled POS?
Hey Jeff, Sorry for the late reply. The authentication/access to get your refresh token does need to be run on the client as a person needs to interact with the web viewer, but once you have your refresh token, the rest of it can all be run on the server
Hello Seedcode,
The issue I am dealing with was introduced when we attempted to upgrade to FMP 19.5 and FMS 19.5
I have implemented the change to the cURL code that you recommended. However, there is still an issue.
I actually duplicated the scripts so that Users that are still running FMP 19.4 on their desktop can still successfully send using the “Send Email – Resumable” script. If we never upgrade, no problem?
There are also several Perform On Server scripts that need to run. The bad news here is that the server is now upgraded to FMS 19.5, therefore the Server scripts are failing.
I have been logging and trying to find why the FMP 19.4 works and FMP 19.5 does not.
For example, the RFC Form generated by the FMP and FMS 19.5 Using the modified curl instruction below is identical to the RFC Forn generated by FileMaker 19.4.
$cURL & ” -d ” & “\”” & Substitute ( $requestBody ; Char(34) ; “\\” & Char(34) ) & “\””
Noir sure what broke, but it is maddening as I cannot understand why FM2Gmail sent using FileMaker Platform 19.5 fails.
I am getting the following error from FM19.5 but FM19.4
{
“error”: {
“code”: 400,
“message”: “Recipient address required”,
“errors”: [
{
“message”: “Recipient address required”,
“domain”: “global”,
“reason”: “invalidArgument”
}
],
“status”: “INVALID_ARGUMENT”
Any guidance you can offer will be most welcome.
}
}
Hi Jeff,
Jason here. 19.5.2 should resolve the issue and you can just go back to using the old Quote function.
The above substitute for the Quote function for 19.5.1 is working on my end. Depending on which version of the demo file you started with there might be more than one place where the RFC body is being POSTED, so I would step through with the debugger on the script that is failing and check all the places where that $cURL var is being set and make sure the Line Feeds aren’t getting replaced with the ¶ as that’s what’s causing that error to be returned.
Let me know if that helps and if you’re still stuck, hit me up at support@seedcode.com and maybe I can take a look at your file.
My best,
-Jason
Can this be adapted to PSOS run on the server from webdirect, with a print pdf stored in the temporary folder on the server and attached in the send event. I have successfully done all this with the send mail function to send a confirmation invoice pdf but on the other end Gmail most often interprets this as spam. I am hoping an API based authorization would prevent Gmail from classing it as a spam. any thoughts?
Hi Joseph,
I hope all is well. Yes, this example does use containers rather paths for the attachments for the base64, but you can use Insert From URL on the server to insert a PDF into a container as the server does have permissions to the temp folder.
The initial authentication/access process does need to be run on the client as a person needs to interact with the web viewer, but once you have your refresh token, the rest of it can all be run on the server as Insert From URL is fully supported there.
hth,
Jason
Will this accept camera input on FileMaker Go?
Hi Jerry,
Yes, once you have it in a container field in Go, you can send it.
The demo file uses desktop examples, but you could modify those to Insert From Device to populate the containers with the camera.
hth,
-Jason
Hi Jason, I had this implementation working smoothly for weeks – then suddenly I’m getting Error 1630 – it looks like it is not pulling any of the Google info. I tested just on the download fiel as well using the same creds and same issue. I’ve made no changes to anything, it just stopped working. I cleared the tokens and reset, still no luck. Any ideas?
Thanks
Hi Justin,
Yes, Google made a change. I’ve updated the example file for this and the next blog post with a fix. The script Request Resumable Upload URL needs to be updated at the bottom per this new example file. That should take care of it.
My best,
Jason
thank you!
Jason, I have implemented successfully your integration of gmail into my filemaker 16 application and all was working great. Then, Google recently changed their API validation requirements and while I can authenticate, my new clients cannot. I have gone back to the API console and tried to figure out what I need to do to be verified by google, but I really don’t know what I am doing. Can you help or point me in the right direction?
Hi Mark,
Verification is only required for public apps that you plan on distributing, so you create an app as a user in the same google group as your customer, and set it to internal (not public) on the Credentials / OAuth Consent Screen, then the users in that group should be able to authenticate to it without having to go through the verification process.
Here’s some documentation on this along with the verification steps if you need to go that route:
https://support.google.com/cloud/answer/7454865?hl=en#verification
If you do need to go through the verification I would get assistance from whoever manages your customer’s domain as they will be required to complete those steps.
I hope that helps and keep us posted.
-Jason
Hi Jason,
I did as you suggested and created the credentials under my clients Google organization. Now the authentication is granted and their email address appears on the Home layout. However, when I send an email I get an 1631 error. Any thoughts?
Jason, the new version works great – I can’t thank you enough. My best!
I tested FM2GMAIL part 1 and FM2GMAIL Fresh part 3 using my same credentials and part 1 sent the email, but FM2GMAIL Fresh part 3 produced the 1631 error. Hope this helps.
Hi Mark,
Right, Google has made a change that was causing the FileMaker script Request Resumable Upload URL to not retrieve the PUT URL correctly. I’ve updated the example files for this post and the next one. You should be able to copy the changes to the Request Resumable Upload URL script (at the bottom) to your file. That should take care of it.
My Best,
Jason
Thank you very much, I’ll give it a try. It certainly seems like a better way to go.
This is an amazing article! Our email provider is office365 and looking through their documentation, although a tad different their API would work similarly to this, I now have another project to add to the list! great work!! , Im interested to know if you plan on writing an article about receiving emails into filemaker, We programed an email gateway to insert emails into filemaker, but if there is a way todo it nativley then thats great!
Hi Ashly,
Thank you for the kind words. We do plan on publishing another article (soon) on working with threads, which will cover receiving e-mails in specific threads. For a more general approach to receiving I would check out the work done by dbservices. I think they did a great job covering that and I wouldn’t have much to add there. The link is below:
https://dbservices.com/articles/filemaker-gmail-integration/
hth,
-Jason
Hi,
Great article. My experience with FileMaker base64 encoding has been that when decoded at the other end. meta data such as location information is missing from the image. Have you been able to avoid the loss of this data.
Hi Paul, ) for the encoding, so I’m not sure if that’s related.
Thank you for the kind words. I’m not seeing that here. I compared the GetContainerAttribute() results before and after sending and I’m not seeing any metadata loss there, including lat &lng. This example does use Base64RFCEncode( 4648,
Best!